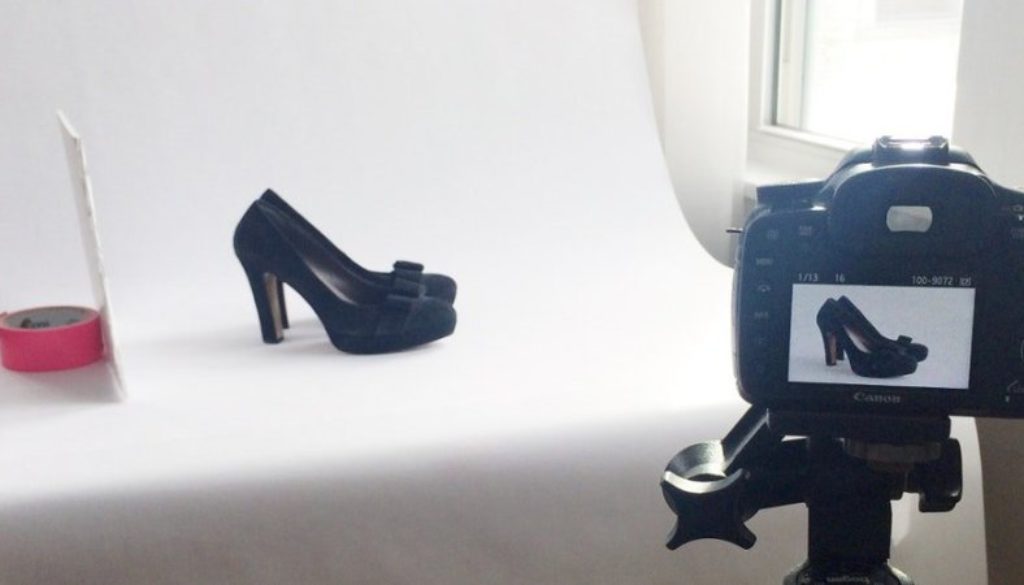
DIY Guideline for beautiful product photography
DIY Guideline for beautiful product photography
The perceived value of your brand depends on the trustworthiness of your product. Often, the quality is judged on the behalf of visual presentation, means high quality depends on the beautiful photography of products.
Meanwhile, not every owner of a store can afford the investment in the professional studio of photography especially at the time of starting out. However, it’s a great alternative when you consider DIP product for best photography:
Product 1: Buying best camera:
You don’t need to buy a crazy system, only you need to buy a camera that is best while shooting. Normally, Nikon D810 that support 105mm. Still, if you are not feeling comfortable with this camera then make a budget plan for buying a new camera
Product 2: A tripod:
It’s not too technical, but if you are setting your camera in a small aperture then you need to consider a tripod, which can be capable of going in the depth.
Product 3: A white background:
White background shows brightness or uniqueness in your product, if you are shooting, you need to consider the white sweep, which you can buy from any online site like Amazon.
Product 4: White bounce cards
Cards that are made up of foam board will enhance the bright side so that there is no shadow. So if you are avoiding dark side, you need to use lighting with window lights in the white bounce cards.
Product 5: A table:
It depends on you what size you are choosing for tables, like the standard size of a table is 24-27 inches, consider the wide folding table.
Product 6: Tape:
You can use the tape as well as clamps for securing whiteboard, so it will stand properly
Product 7: The Lightroom:
A room is considered with the perfect wall color so that you can put all accessories in that room.


